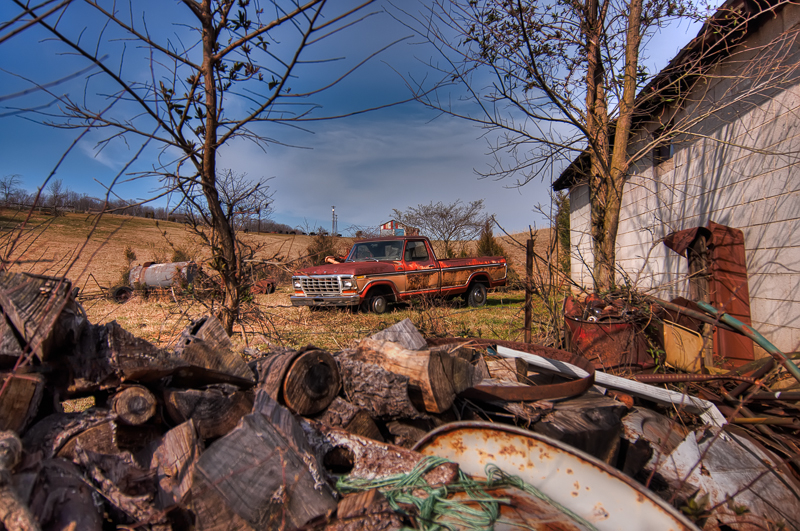
This shot was taken using a NIKON D5000 at ISO 400, f/4, for 1/3200sec
The image above is an HDR that was created using Photomatix Pro with a 7 exposure bracket. However, that bracket was created in Lightroom from a single image.
To create an HDR (High Dynamic Range) image, you would set your camera for AE Bracketing, and fire off 3, 5, 7 or 9 shots to create a range of shots of the same subject at varying exposure levels. In normal circumstances, when shooting bracketed shots, you would want to have your camera attached to a tripod or some other way of stabilizing your shot. However, there are times when you may not have a tripod but you still have a shot that you wish to make into an HDR. It is easy to create bracketed shots from one image using Lightroom.
Below are 3 simple steps to get your single image into a bracketed set. This works best when you are processing RAW images.
Step 1: Select Image
– Select the image in the Library Module that you wish to use and right click on that image and click on “Create Virtual Copy” (keyboard shortcut: CTRL-‘ ). Do this 6 more times if you wish to have a 7 shot bracket.
– You will now have 8 images that all look alike. Your original image, plus 7 copies.
Step 2: Adjust Image Exposures
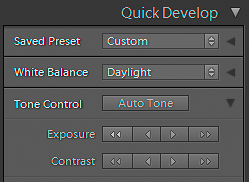
- Starting with the first copy of your image in the Library Module, select it and then click the << button three times under “Exposure” in the Quick Adjustments menu. This creates the -3 EV image of the set.
- Next, select the next image (Copy 2) and click the << twice. This creates the -2 EV image of the set.
- Then, select the next image (Copy 3) and click the << once. This creates the -1 EV image of the set.
- Leave Copy 4 alone, this is your 0 EV image.
- Next, select Copy 5 of the image and click the >> once. This creates the +1 EV image.
- Then, select Copy 6 of the image and click the >> twice. This is your +2 EV image.
- Finally, select Copy 7 of the image and click the >> three times. This is your +3 EV image.
Step 3: Export
– Highlight your seven images and export them into your tone mapping software and finish your HDR.
Share with the community
If you are interested in sharing your images with the rest of the community here, head over to Flickr and upload your images to the Banakas Photography Group. I will be picking images to share soon.
Looking for updates?
Sign up for the monthly newsletter or subscribe to my RSS feed.
More about Me
All the information you could possibly need about me, is all on one page.
This post was created as part of an exercise in creating a “How To” post on Darren Rowse’s ProBlogger.net site.


